
Keeping track of appointments, events, and important dates can be a challenging task, especially when working with a team. Fortunately, Outlook offers a convenient solution to this problem in the form of shared calendars. In this guide, we will be walking you through the process of creating a shared calendar in Outlook, step by step. By the end of this guide, you will be able to share your calendar with others and collaborate more efficiently.
How to Create a Shared Calendar in Outlook?
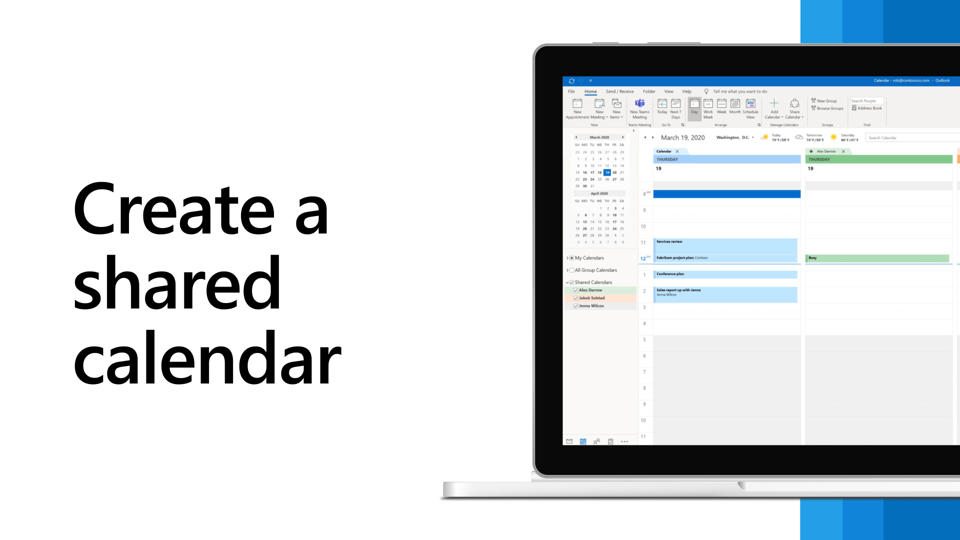
Creating a shared calendar in Outlook is a straightforward process that can be accomplished in a few simple steps.
Step 1. Open Outlook and click on the “Calendar” button located in the bottom left corner of the screen.
Step 2. Click on the “New Calendar” button located in the top left corner of the screen.
Step 3. In the “Create New Calendar” dialog box, select “From Outlook Data File” and then click on the “OK” button.
Step 4. In the “New Outlook Data File” dialog box, select “Calendar” as the folder type and then enter a name for the calendar. Click on the “OK” button to create the calendar.
Step 5. Once the calendar has been created, right-click on it and select “Properties.”
Step 6. In the “Calendar Properties” dialog box, click on the “Permissions” tab.
Step 7. Click on the “Add” button to add users to the calendar. Enter the names of the users you want to share the calendar with, and then click on the “OK” button.
Step 8. Assign permissions to the users by selecting their names from the list and then selecting the appropriate permissions from the drop-down menu.
Step 9. Click on the “OK” button to save the changes and close the “Calendar Properties” dialog box.
Step 10. Finally, the users you have shared the calendar with will be able to access it by clicking on the “Shared Calendars” button located in the bottom left corner of the screen, and then select the calendar you have created.
What are the Benefits of Shared Calendar in Outlook?
There are several benefits of using a shared calendar in Outlook, including:
- Improved Collaboration: Shared calendars allow multiple users to view and edit the same calendar, making it easy for teams to schedule and plan meetings and events together.
- Increased Visibility: With a shared calendar, all team members have access to the same information and can easily see when others are available or busy.
- Improved Communication: Shared calendars can be used to communicate important information, such as deadlines and changes to schedules, to the entire team.
- Increased Productivity: By using a shared calendar, team members can better coordinate their schedules and avoid conflicts, leading to increased productivity.
- Easy to Use: Outlook’s calendar feature is user-friendly and easy to navigate, making it simple for users to add, edit, and view calendar events.
- Accessibility: Shared calendar can be accessed from anywhere, on any device.
- Mobile Accessibility: Shared calendars can be accessed on mobile devices, which is useful for team members who are often on the go.
Also Read: How to Convert User Mailbox to Shared Mailbox in Office 365; Complete Guide
Conclusion
Creating a shared calendar in Outlook is a simple and effective way to stay organized and collaborate with others. By following the steps outlined in this guide, you will be able to create and share a calendar in Outlook with ease. With a shared calendar, you and your team can stay on top of important events and appointments, and make sure you never miss a deadline or an important meeting again.