
Moving your Outlook OST file to a new computer can be a daunting task, especially if you are not familiar with the process. In this article, we’ll walk you through the step-by-step process to move Outlook OST file to a new computer, so you can access your data without any hassle.
Microsoft Outlook is a popular email client that allows you to manage your email, calendar, and contacts in one place. The client stores your data in an Offline Storage Table (OST) file, which is a local copy of your mailbox stored on your computer. Moving an OST file to a new computer can be useful when you switch to a new machine, but want to keep your Outlook data. Let’s through the steps to move Outlook OST file to a new computer.
Table of Content
Step I Before Moving Outlook OST File to a New Computer; Find It’s Location
To find the location of your OST file on your system, you can follow the steps below:
Step 1. Click on the Start menu or the Windows icon on your system and look for the Control Panel. Once found, open the Control Panel on your system.
Step 2. Make sure that the category customization is set to Small Icons.
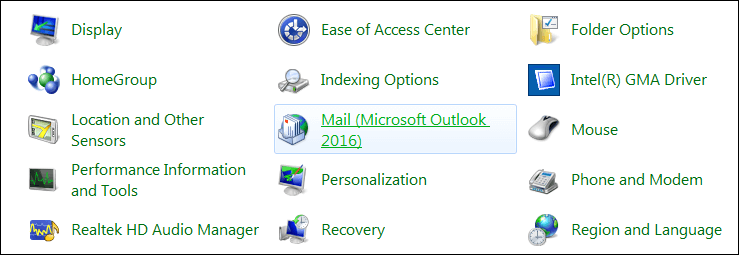
Step 3. Locate the Mail option in Control Panel and click on it.
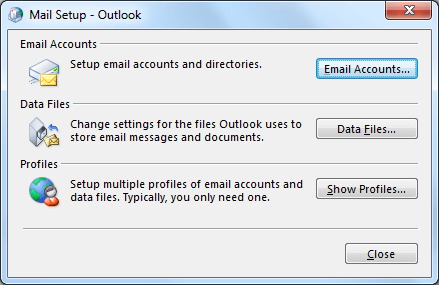
Step 4. Now, a small Mail Setup dialogue box will open. There you need to click on the Data Files button.
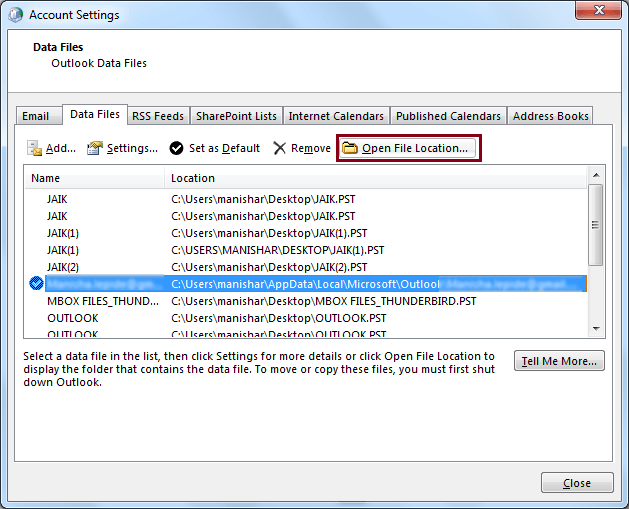
Step 5. Once done, an Account Settings window will open. There make sure you are on the Data Files tab.
Step 6. Select the account for which you want to know the OST file location. You will notice that a location is mentioned. That is what you were looking for. Trace the location and get your OST files. You can also click on the Open File Location tab to go to the folder directly.
Note that the steps above may vary slightly depending on the version of Windows and Outlook you are using.
Also Read: How to Merge PST Files in Outlook without Duplicates – Quick Steps
Detail Steps to Convert OST File & Move Outlook OST File to a New Computer
OST files are local copies of your mailbox that are created when you use Outlook with Exchange Server. These files are used to allow you to access your mailbox even when you are not connected to the server.
Open Outlook on Your Old Computer and Export the Data to a PST file
There can be two situations, while dealing with OST files, Situation 1. You have a working Outlook profile and Situation 2. You have an Orphaned OST file. Let’s discuss each situations, and learn how to move Outlook OST file to a new computer in both the situations.
Here are the Steps to Convert an OST file & Then Transfer OST file to a New Computer:
Situation I. You have a working Outlook profile
When you have a working Outlook profile, then you can easily export the OST file to PST file format using Import & Export Wizard.
Follow the below steps:
- Open Outlook and click on the File tab.
- Select the Import and Export option.
- In the Import and Export Wizard, select the Export to a file option and click Next.
- Select the Personal Folder File (.pst) option and click Next.
- Select the folder you want to export. Make sure to select the Include subfolders option if you want to export all the items in the folder.
- Choose a location where you want to save the exported file and give it a name.
- Select the options you want for the exported file. You can choose to replace duplicates with items exported or allow duplicate items to be created.
- Click Finish to start the export process.
Situation II. You have an Orphaned OST File
If you have an orphaned OST file, then you have to use a third-party tool for converting an orphaned OST file to a PST file because Outlook doesn’t provide a built-in method to convert an orphaned OST file. An orphaned OST file is a file that is no longer associated with an Outlook profile, which means that you can’t open it using Outlook. In this case, using a third-party tool is the best option to recover the data from an orphaned OST file. A tool can help you to convert the OST file to a PST file, which you can then open in Outlook and access your data.
Step 1. Download and install a SysTools OST Converter software.
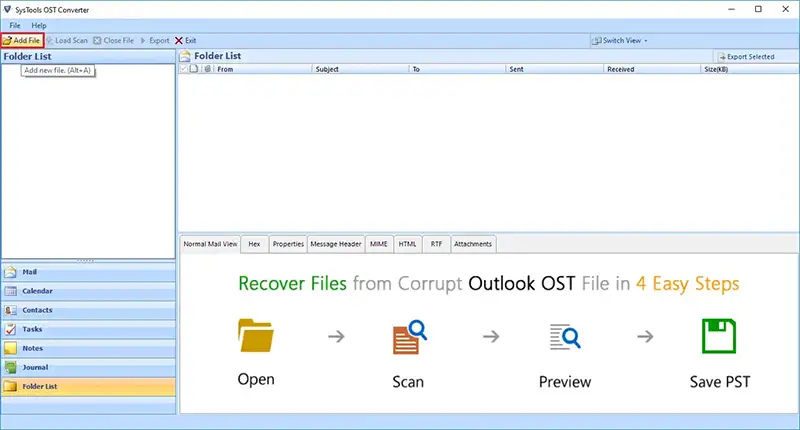
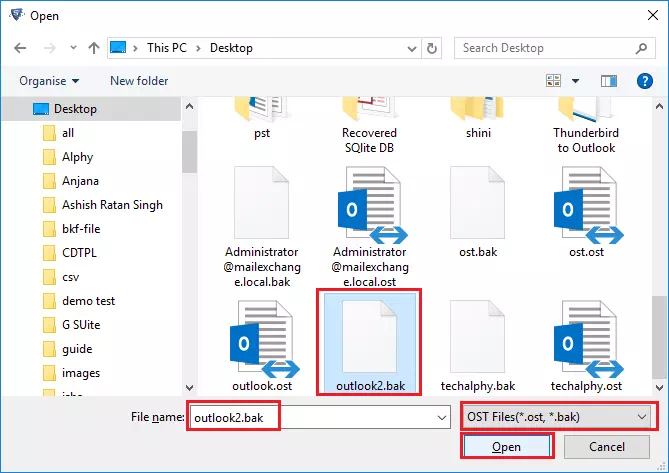
Step 2. Launch the software and Browse the OST file you want to convert.
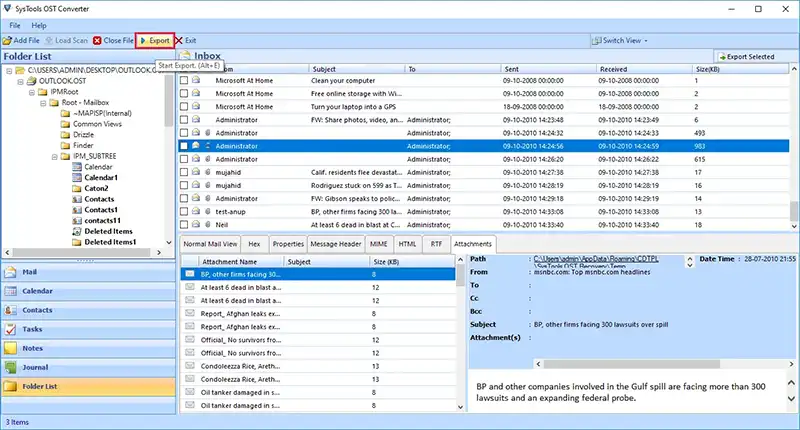
Step 3. Preview the Browsed OST File Mailbox Data and Hit on The Export button.
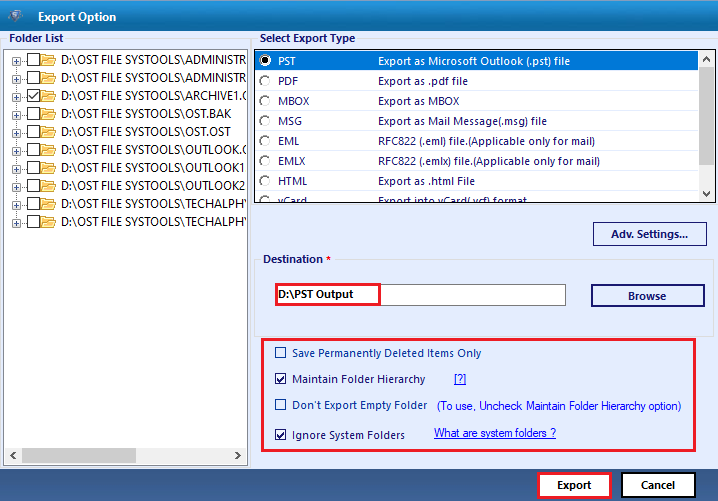
Step 4. Choose PST file format and browse the destination location to convert OST file.
Note: It’s always recommended to create a backup of your OST file before attempting to convert it to a PST file.
Step II: Transfer the Converted OST File to the New Hard Drive
You can transfer the file using a USB drive, external hard drive, or any other method of file transfer.
Here are the steps to transfer the converted OST file to the new computer using a hard drive:
- Connect an external hard drive to your old computer.
- Locate the converted PST file that you created in Step 1.
- Copy the PST file to the external hard drive.
- Safely disconnect the external hard drive from your old computer.
- Connect the external hard drive to your new computer, where you want to move Outlook OST file to a new computer.
Step III: Import the Converted OST File into Outlook on the New Computer
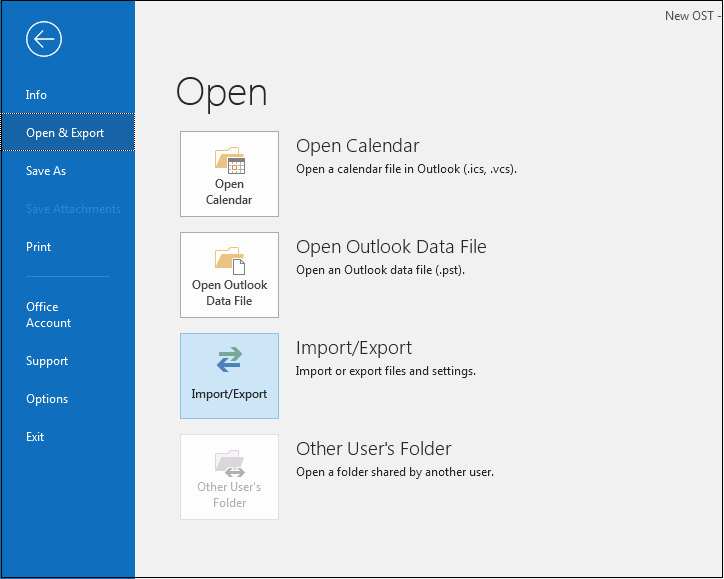
Step 1. Open Outlook on the new computer and go to File > Open & Export > Import/Export.
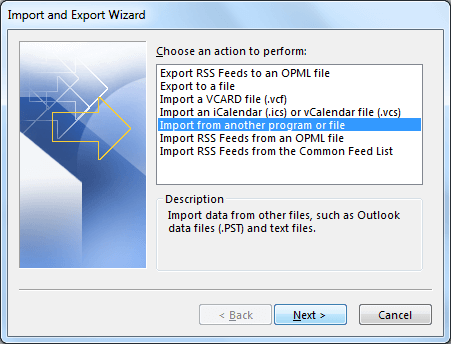
Step 2. Select Import from another program or file > Outlook Data File (.pst).
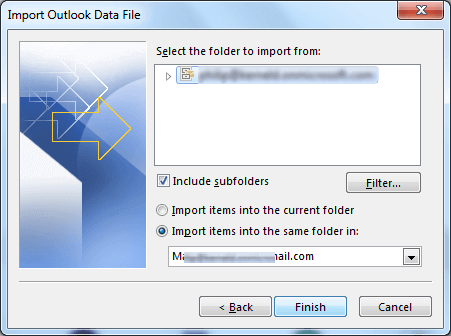
Step 3. Browse to the location where you saved the PST file and select it.
Step 4. Choose the folder you want to import and click Finish.
Must Read: How to Migrate Outlook Emails to Office 365 -Two Effortless Methods
Conclusion
By following these steps, you can easily move your Outlook data from one computer to another. Keep in mind that if you are not the owner of the Exchange profile, you may not have access to the mailbox data on the new computer. In this case, you will need to convert the OST file and then transfer it to the new computer for the new user to import it into their mailbox.